Learning how to sew a button is a basic skill that takes just a few minutes to complete. This tutorial will walk you through each step so you can quickly fix loose buttons or attach new ones to your clothes.
All you need is a needle, thread, and the button itself to get started. We'll cover how to choose the right thread, secure your stitches, and make sure your button stays put for the long haul.
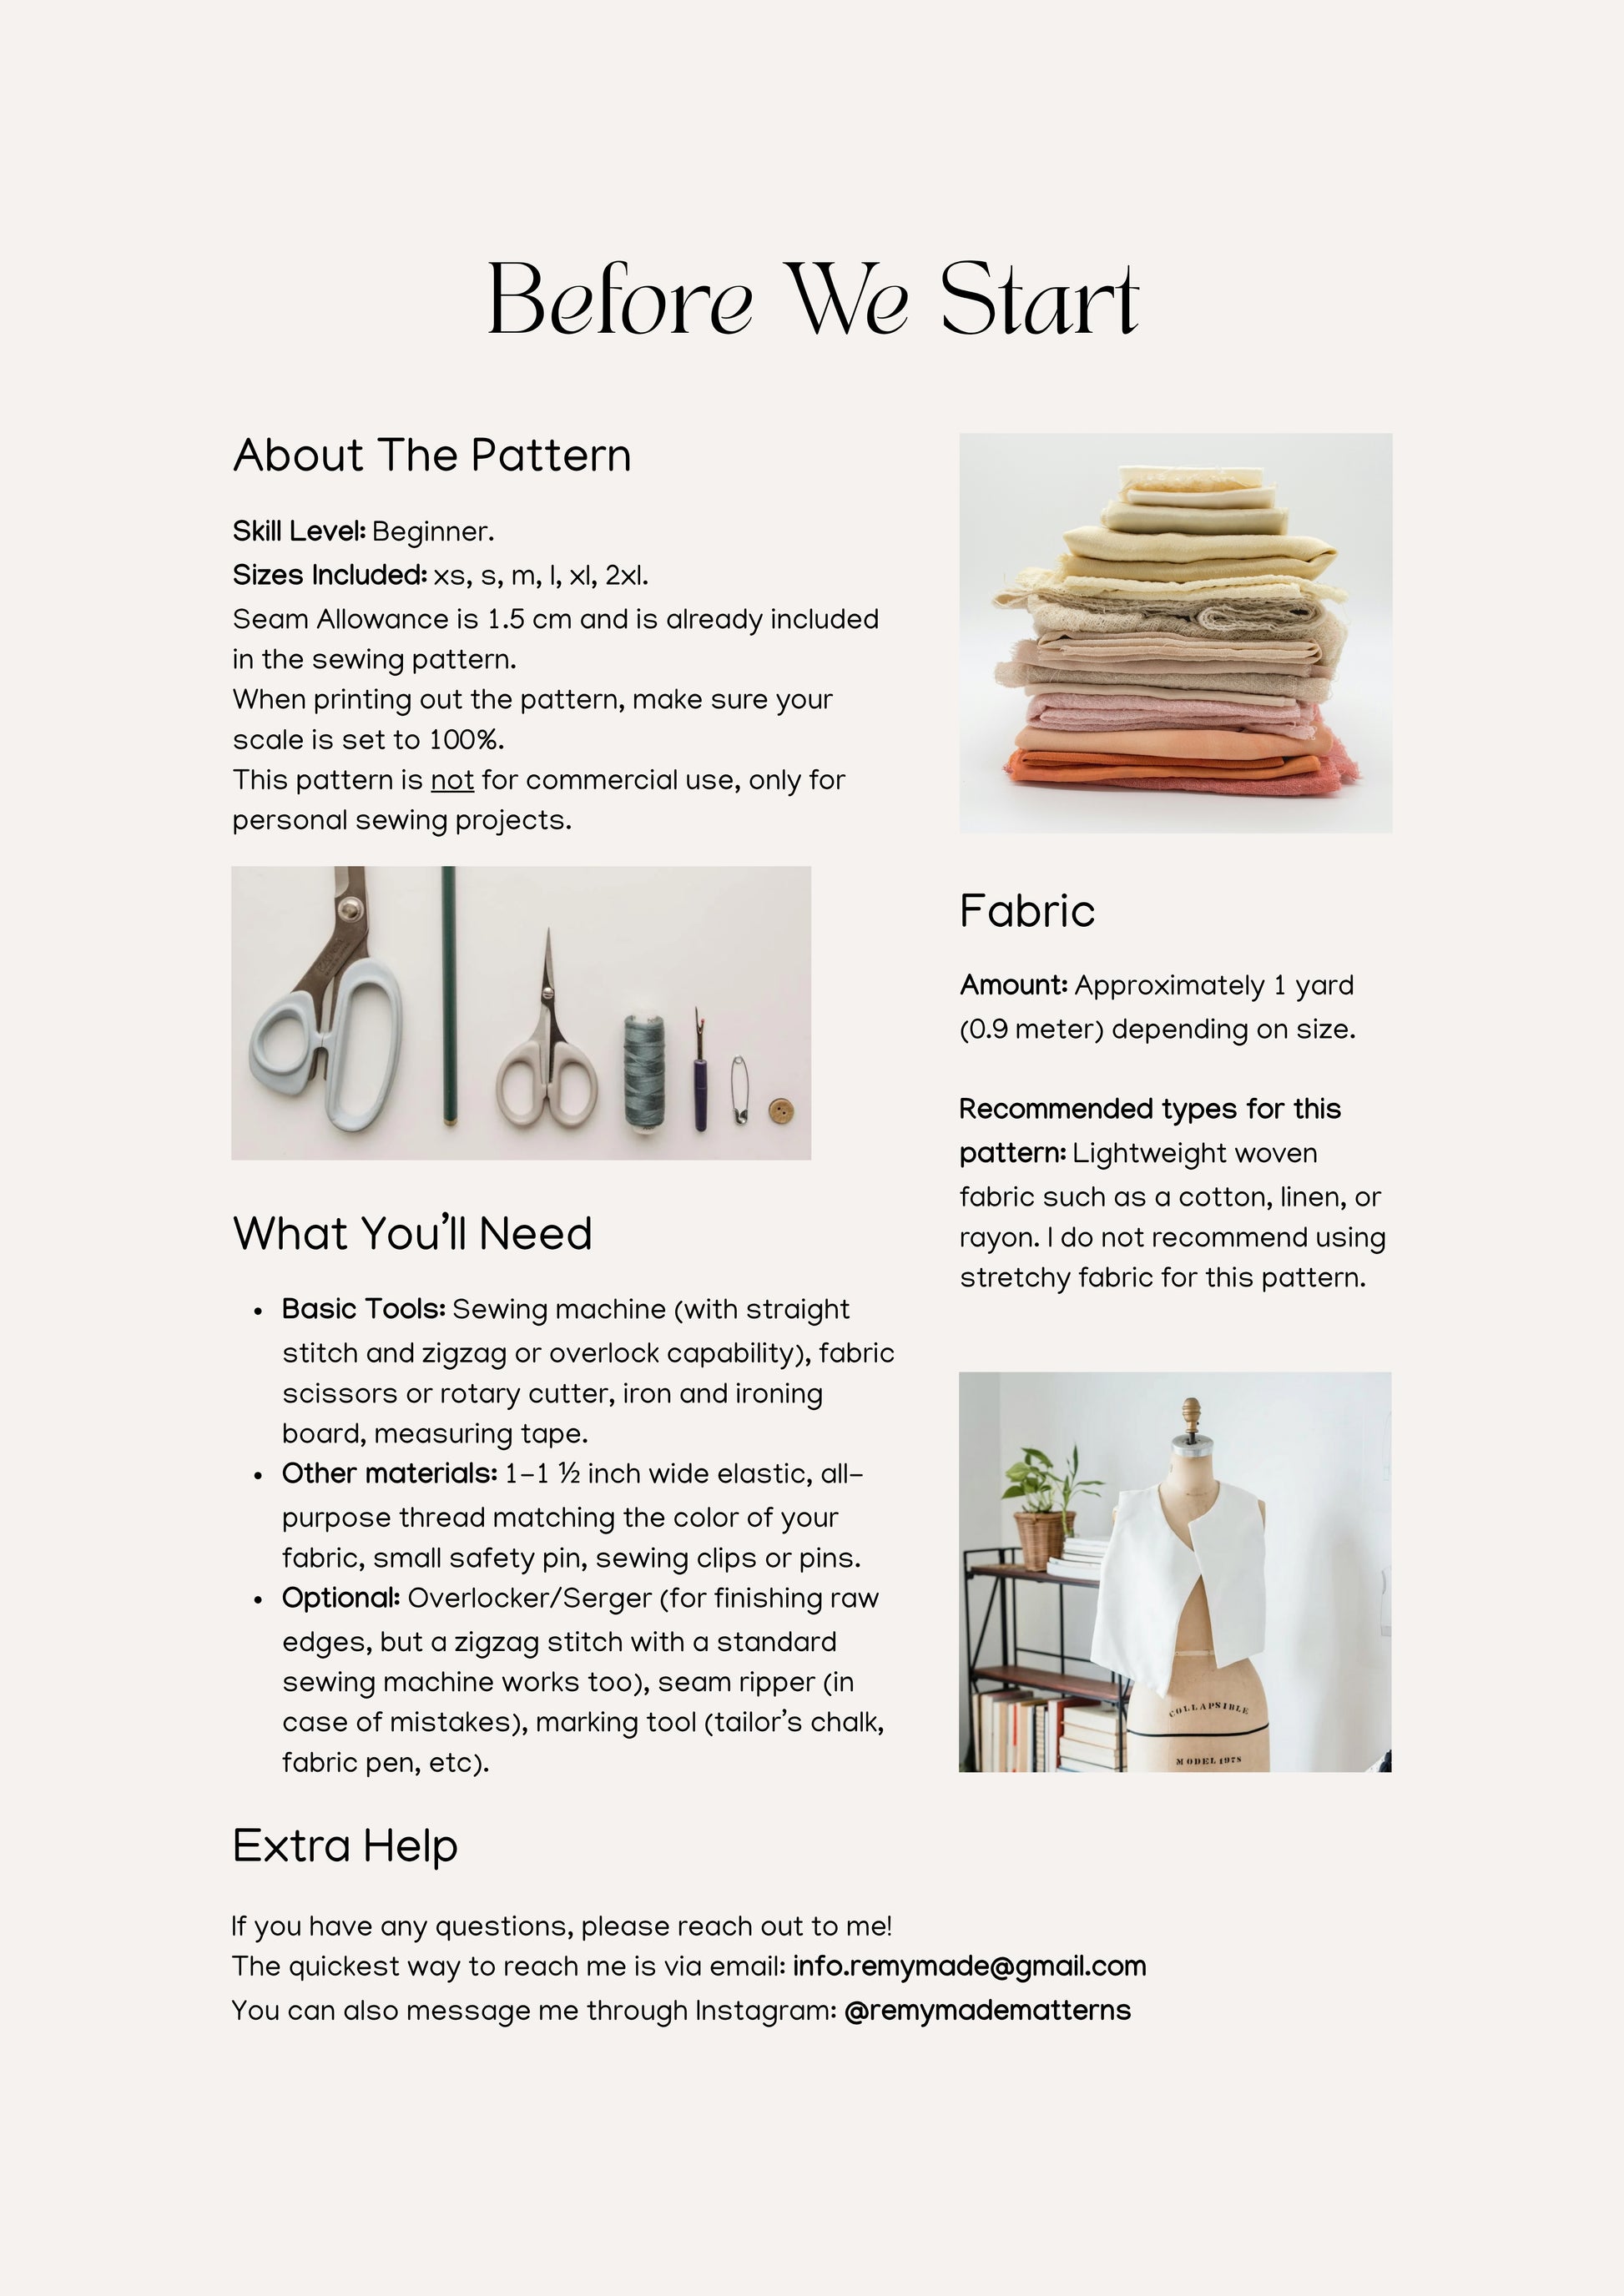
Supplies needed to sew a button:
-
Needle
-
Thread
-
Scissors
-
The button
-
The fabric or garment
-
(Optional) A toothpick or pin
 How to Sew On a Button Step By Step
Follow these simple steps to attach a button securely to any piece of clothing.
Step 1: Thread Your Needle
Cut about 18–24 inches of thread. Thread the needle and tie a knot at the end of the thread.
Step 2: Position the Button
Place the button over the spot where it needs to be sewn, aligning it with any nearby buttonholes if needed.
Step 3: Insert the Needle from the Back
Push the needle up through the fabric from the back (wrong side) to the front (right side), through one hole in the button.
Step 4: Add a Thread Shank (Optional)
Before finishing, push a pin or toothpick under the button (between it and the fabric) and sew over it. This gives the button a little room to move and makes it easier to button through thick fabric.
Step 5: Stitch Through the Buttonholes
-
For a 4-hole button, sew diagonally or in parallel lines, going down one hole and up through the opposite hole.
-
For a 2-hole button, simply go up one hole and down the other.
Repeat this stitch 4–6 times to make it secure.
Step 6: Wrap the Thread (If doing Shank Method)
After your final stitch, bring the needle up between the button and fabric. Wrap the thread 3–4 times around the stitches underneath the button to form a shank. Then push the needle down through the fabric to secure it.
Step 7: Secure the Thread
Flip the fabric over. Tie a small knot close to the fabric to lock the thread in place. You can do this by slipping the needle through the stitches on the back and pulling it through the loop to knot.
Step 8: Trim the Thread
Cut off the excess thread close to the knot, and you’re done!
Related article: The Best Fabric Scissors For Every Sewing Project
The difference between sewing a button with 4 holes versus sewing a button with 2 holes
The main difference is that 4-hole buttons give you more thread attachment points, making them more secure than 2-hole buttons.
With a 4-hole button, you can create an X pattern or two parallel lines of stitches for extra strength.
2-hole buttons are quicker to sew and work well for lighter fabrics, while 4-hole buttons are better for heavy coats or items that get lots of use.
Supplies needed to sew a buttonhole:
-
Needle
-
Thread (preferably matching your fabric)
-
Scissors or seam ripper
-
Fabric or garment
-
Ruler or measuring tape
-
Pencil or fabric marker
-
Pins or chalk (optional)
How to Sew Buttonholes Step By Step
Creating neat buttonholes requires precision, but this step-by-step guide will show you exactly how to do it.
Step 1: Mark the Buttonhole
Use a ruler and fabric marker to mark a straight line the length of your button (plus a tiny bit extra — about 1/8").
Step 2: Stitch Around the Mark
Using a basic running stitch, sew around the marked line to outline the buttonhole. This acts as a guide and helps reinforce the area.
Step 3: Cut the Slit
Use sharp scissors or a seam ripper to carefully cut along the center of the stitched line, creating the slit where the button will go through.
Step 4: Sew a Buttonhole Stitch
Sew over the raw edges using a blanket stitch or buttonhole stitch:
-
Bring the needle up at the edge of the slit.
-
Insert the needle again slightly over and down the slit.
-
Before pulling the thread tight, pass the needle through the loop to form a knot at the edge.
-
Repeat all the way around the slit.
Step 5: Secure the Ends
Add a few extra stitches (bar tacks) at both ends of the buttonhole for strength, then knot the thread securely on the back.
FAQ
What is a thread shank?
A thread shank is a small column of wrapped thread that sits between the button and the fabric. It creates space so the button can move freely when you fasten it, rather than pulling tight against the fabric.
This extra room makes buttoning easier and prevents the fabric from bunching up around the button.
How do you make a thread shank for a button?
To make a thread shank, place a toothpick or matchstick on top of the button while you sew through the holes.
This keeps your stitches loose and creates the needed space between button and fabric.
After you finish sewing through the holes, remove the toothpick and wrap the loose thread around the stitches several times before knotting it off underneath.
What is the strongest way to sew a button?
The strongest way to sew a button is to use doubled thread and make at least 6-8 passes through each set of holes.
For 4-hole buttons, sew through each pair of holes separately rather than creating an X pattern, as this distributes the stress better.
Always finish with several small stitches on the back of the fabric to lock everything in place.
How do I fix a loose button?
To fix a loose button, simply add more thread to tighten the attachment without removing the existing stitches.
Thread your needle and make several new passes through the button holes, pulling snugly to eliminate any wobble.
Finish by making a few small stitches on the back of the fabric to secure your work, and your button will be solid again.
Can I sew a button using a machine?
Yes, you can sew a button using a sewing machine if it has a button attachment foot and a zigzag stitch function.
Related article: The Best Sewing Machines for Every Skill Level (2025 Buyer’s Guide)
You'll need to lower the feed dogs and use the zigzag stitch to go back and forth through the button holes.
While machine sewing is faster, hand sewing gives you more control and is often easier for beginners or when working with thick fabrics.





0 comments